Solar Installation Guide
A rooftop solar installation is part engineering and part paperwork. Knowing the sequence helps you plan around it and recognise where a project is genuinely progressing versus where it has stalled.
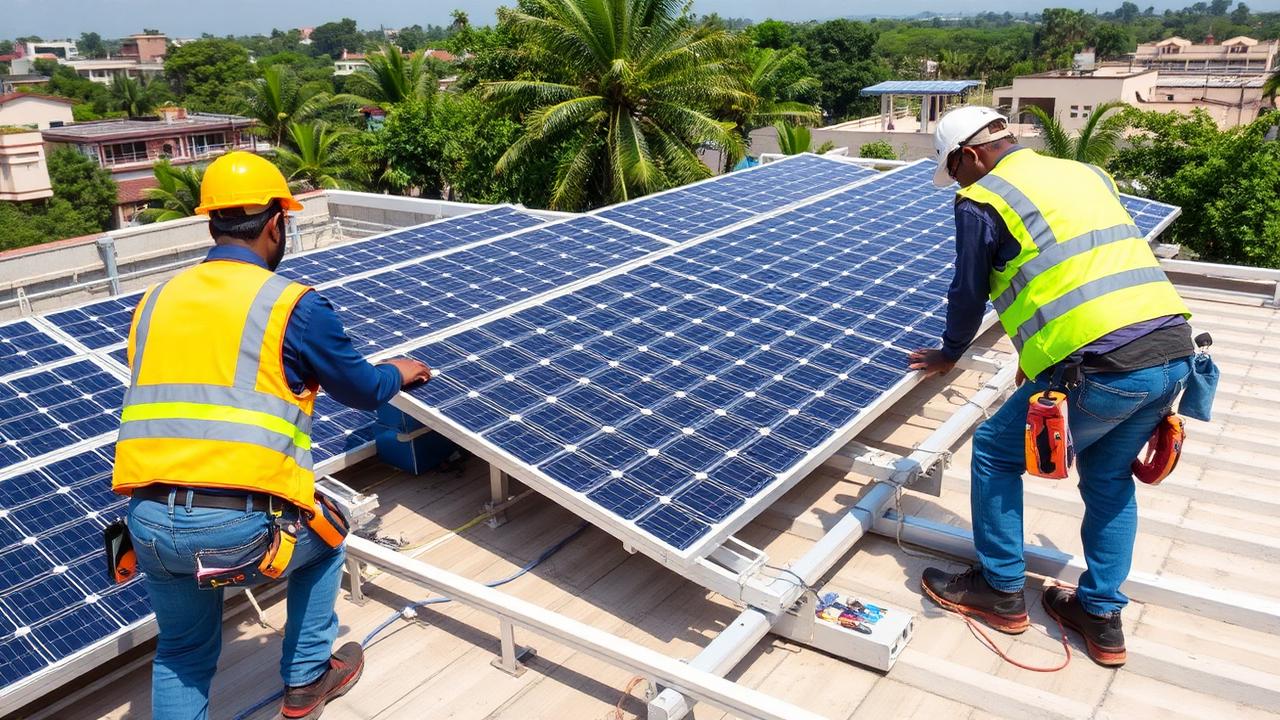
Step 1 — Site assessment
An engineer visits the site to measure usable shadow-free area, check roof structure and waterproofing, note the shadow path of water tanks, parapets, lift rooms and neighbouring buildings, and inspect your existing distribution board and earthing. Your last twelve electricity bills are reviewed alongside the sanctioned load. This visit determines the realistic capacity range — not a phone estimate.
Step 2 — System design and proposal
The design fixes module count and layout, string configuration, inverter rating, cable sizing, protection devices and structure height. A proper proposal states module make and wattage, inverter make and model, structure specification, cable sizes and expected annual generation. Anything vaguer than that is a price quote, not a design.
- Panel layout drawing with row spacing and walkways
- Single line diagram showing DC and AC protection
- Expected annual generation and net metering assumptions
- Clear scope boundaries: civil work, load enhancement, cable runs
Step 3 — Registration and DISCOM approval
For residential subsidy projects, registration is done on the national PM Surya Ghar portal with an empanelled vendor, followed by a feasibility application to your DISCOM (Torrent Power, UGVCL, MGVCL, PGVCL or DGVCL depending on your area). Approval confirms that the distribution transformer can accept the proposed export capacity. Commercial and industrial projects follow the standard DISCOM application route without the residential subsidy.
Step 4 — Structure and panel mounting
The mounting structure is fabricated or assembled and anchored to the roof, either on chemically anchored base plates or on a ballasted or grouted foundation, depending on roof type. Correct tilt, row spacing and clear walkways matter as much as the panels themselves — tight rows shade one another in winter and make cleaning difficult. Panels are then mounted and clamped to torque specification. On most residential rooftops this stage takes one to three days.
Step 5 — Electrical work and wiring
DC cables are run in UV-resistant conduit or cable tray with MC4 connectors crimped and labelled, into the string combiner and DCDB. The inverter is mounted in a shaded, ventilated location. The AC side runs through the ACDB into your main distribution board. A dedicated earthing pit set and lightning arrestor are installed. Neat, labelled, mechanically supported cabling is the single most reliable visual indicator of installation quality.
Step 6 — Inspection, net meter and commissioning
The DISCOM or a designated inspecting authority checks the installation against the approved design and safety norms. The bidirectional net meter is then installed and sealed, the system is energised, and monitoring is configured. You should receive a commissioning report, warranty documents, monitoring login credentials and a basic handover walkthrough. For subsidy projects, the subsidy is credited to your bank account after successful inspection and net meter installation.
Realistic timelines
Physical installation of a typical residential system takes three to seven working days. The overall project timeline is usually four to eight weeks end to end, and the variable part is almost always approvals, inspection scheduling and net meter availability rather than the work on your roof.
Frequently asked questions

Ready to plan your solar system?
Talk to our team about your consumption, your roof and your goals. No obligation — just a clear assessment of what makes sense for you.